
White balance sounds complicated, but it is actually very easy to understand, and can really bring out the best in your photos.
Just hearing the words “white balance” is usually enough to strike fear into the heart of even the most hardened of amateur photographers. After all, it sounds so technical, so it must be complicated, right?
That was how I used to think of white balance, and I steered clear of it for a long time in the hope that it would just go away. Unfortunately it didn’t, so one day I decided enough was enough – it was time to learn it.
To my surprise and delight, not only did white balance turn out to be a very simple concept, it is also one of the most useful to know. So if you’re ready, take a deep breath and let me guide you through.
What is White Balance?
When we look at a white object our eyes will automatically adjust to the lighting conditions, so that the object appears perfectly white to us whether we are indoors under a tungsten bulb or out in the bright sunlight.
While our eyes are excellent at making this adjustment, digital cameras aren’t, and the same object will appear different depending on the colour of light in the scene (something known as the “colour temperature“). This can leave our photos with a blue (cool) or orange (warm) tint.

Our eyes are excellent at adjusting to varying lighting conditions but our cameras need a helping hand. Image by Dan Foy.
White balance is the process of giving our camera a helping hand, so that it can reproduce the whites in our photo as they should be. Once it gets the white right, all the other colours in the scene fall into place, and we’re left with an image that perfectly reproduces what our eyes saw.
Using White Balance Presets
Camera manufacturers know that their Automatic White Balance (AWB) setting doesn’t always get it right, so they also include several white balance presets for us to choose from.

Common white balance presets.
Typical white balance presets include Daylight, Shade, Cloudy, Tungsten, Fluorescent, and Flash. These work exactly as you’d expect – you simply choose the appropriate setting for your shooting conditions and the camera will do the hard work of making white objects appear white.
Custom White Balance
For situations where the white balance presets won’t do, most cameras also come with a Custom White Balance setting. In this mode you begin by taking a photo of a white object (a sheet of white paper or a professional white balance card) under the lighting conditions of your scene. Then you just tell your camera to use that image as its white balance reference, and then all photos taken under those conditions will come out correctly balanced.

White balance cards make setting up your shot quick, easy, and accurate. Image by Tom Page.
Deliberately Using the Wrong White Balance
Most of the time you’ll want the colours of your scene to be rendered as accurately as possible, but sometimes you will get a more impressive image by artificially warming up or cooling down your scene.

Using the wrong white balance can produce some stunningly vivid colours. Image by Elvis Presley.
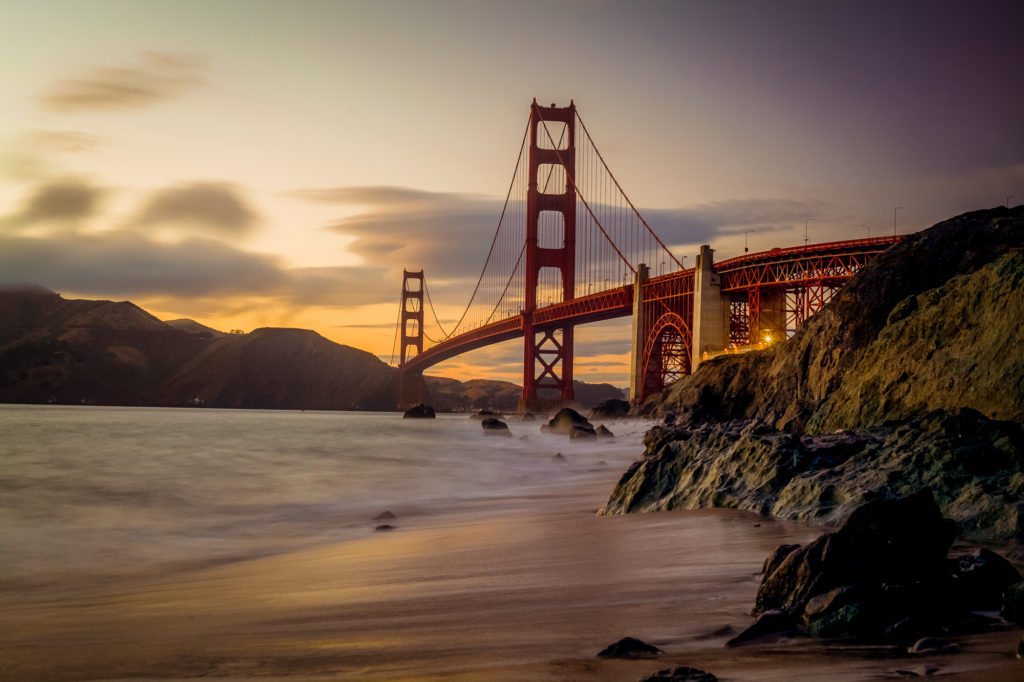
Sunsets are a prime example – your camera’s Auto White Balance will often “correct” the rich, warm colours of the scene, leaving you with a photo which is cold and uninspiring.
To artificially warm up a sunset, you can select one of the “cooler” white balance presets, such as Cloudy or Shade. This will enhance the warm reds and oranges in the photo and subdue the cold blues and greens, leaving you with a much more pleasing image.
– Originally posted on Photography Mad


11 thoughts on “White Balance Explained”
good article very hopeful
Stay with this guys, you’re hepling a lot of people.
This is a really intnglileet way to answer the question.
Brilliant 🙂
You made some respectable factors there. I seemed on the internet for the problem and found most individuals will go together with with your website.
Fantastic, beautiful weblog with great informational content. This is a really interesting and informative content.
I’m truly enjoying the design and layout of your website. It’s a very easy on the eyes which makes it much more enjoyable for me to come here and visit more often. Did you hire out a developer to create your theme? Great work!
I just want to mention I am just newbie to blogs and seriously enjoyed your web page. Probably I’m want to bookmark your blog post . You amazingly come with good writings. Thanks for revealing your website page.
This is a good tip particularly to those new to the blogosphere. Simple but very precise info… Many thanks for sharing this one. A must read article!
Heya i’m for the first time here. I came across this board and I find It truly useful & it helped me out much. I hope to give something back and help others like you helped me.|
Im obliged for the post.Thanks Again.