
Tips for Taking Better Landscape Photos
1. Composition
Regardless of your subject, the basics of photography don’t change, with a well composed shot being vital to taking great landscape shots.
There are a number of composition rules that you should have in mind when putting together your shots. For example:
-
- The rule of thirds: This basic composition guideline has you think of your shot in terms of thirds, splitting the main subjects into the different thirds.For example, you might have your mountains taking up the bottom third, and the sky taking up the top two thirds. This is far more pleasing to the eye than a half-half split.
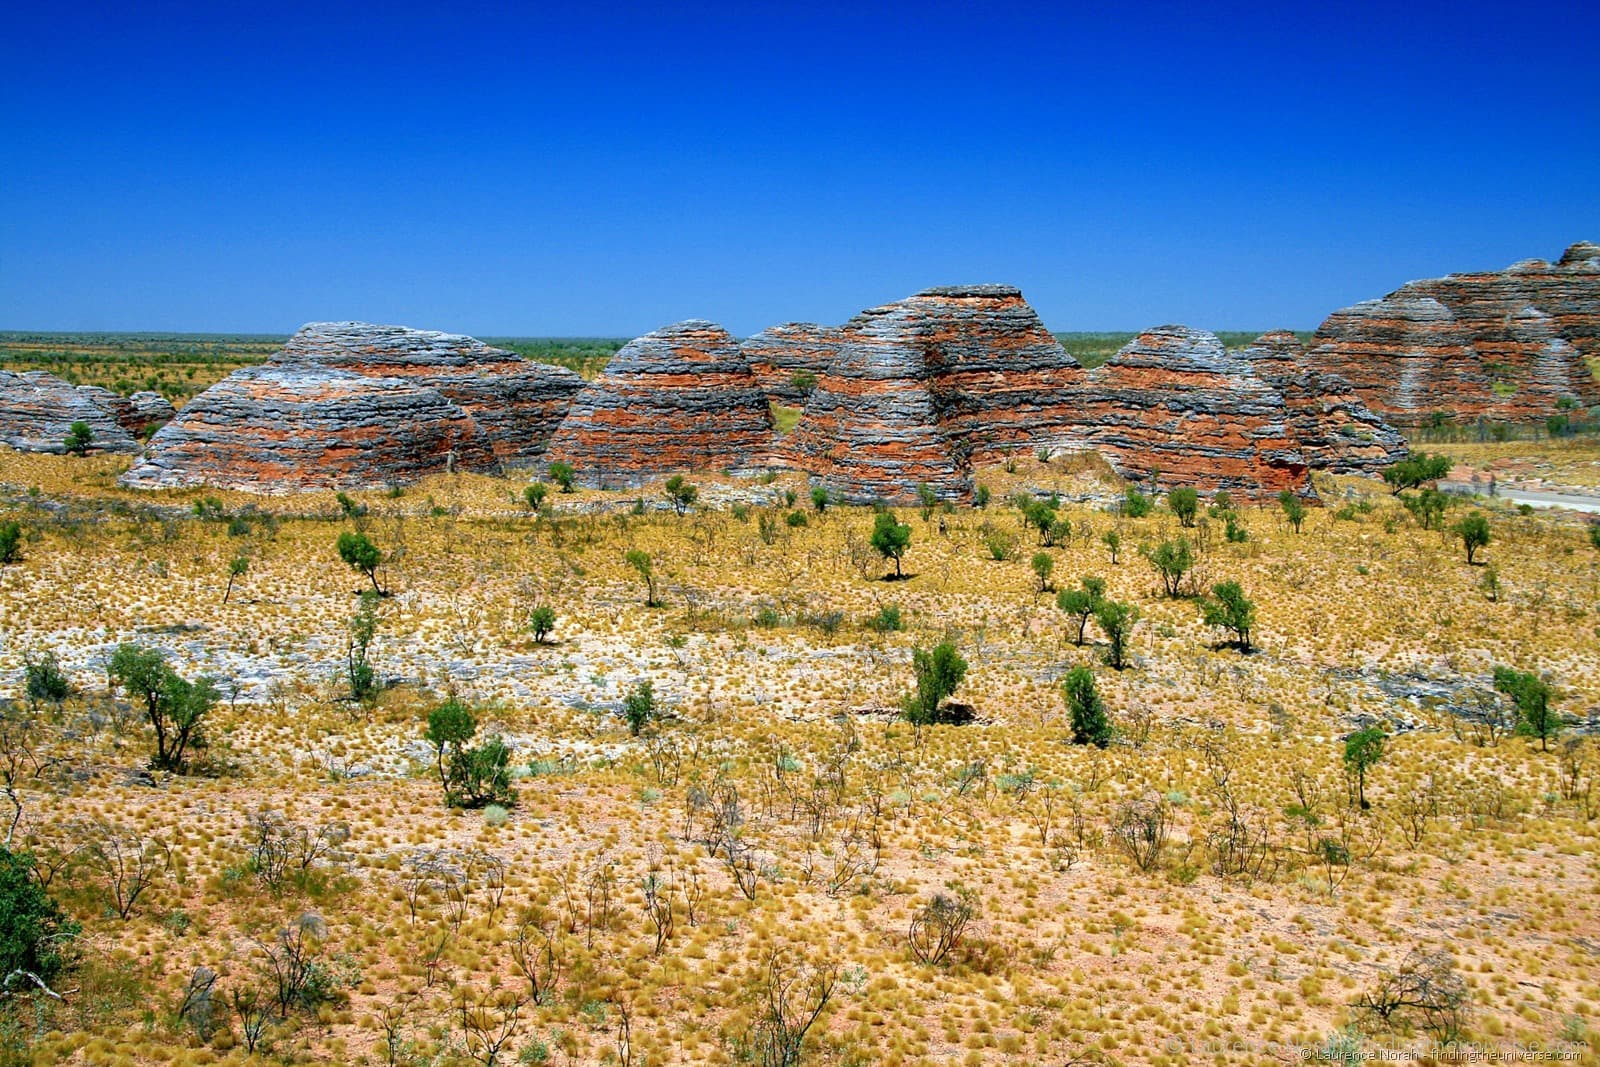
- Leading Lines / Scale: Have you ever taken a photograph of a spectacular looking landscape, only to look at it later and realise it somehow doesn’t do the landscape justice? This can be a result of not giving the viewer enough clues as to what the shot is about.A great way to help draw the viewer into your image and subject is to use leading lines, such as a path up a mountain, or objects that provide scale, such as a person standing on a piece of scenery or a house dwarfed by the surrounding landscape.
- Framing: Pictures generally look better hanging in a nice frame, right? It helps focus the eye on what we are supposed to be looking at.Well, you can use this technique inside the picture as well, perhaps by framing a road by some trees, or shooting through a doorway or window at a landscape. It draws the eye to the subject and is a powerful composition technique.
- Use of Colour: Landscapes tend to consist of the same sort of colours, so injecting something interesting into your image can help it stand out from the crowd. This might be something as simple as someone in a red jacket against a green landscape, or effective use of fall colours.
2 – Use the right gear
If you want to vex a photographer, the first question to ask is what camera they used to get a shot. The reality being that a camera is just a tool, and a great photo can be just as easily taken on a smartphone rather than a super shiny DSLR.
That said, there are some pieces of gear that I rarely travel without when shooting landscapes.
First – a tripod. A tripod is an essential part of the landscape photographer’s kit. When you’re shooting landscapes, you often want to have a good depth of field, which means shooting at apertures in the region of f/8 to f/16. This means less light is hitting the sensor, which in turn means you are likely using lower shutter speeds, or higher ISO numbers.
Since higher ISO numbers can lead to noisier images, you really want to be shooting at the lowest ISO possible, meaning lower shutter speeds, which means a tripod is essential to keeping the shot stable.
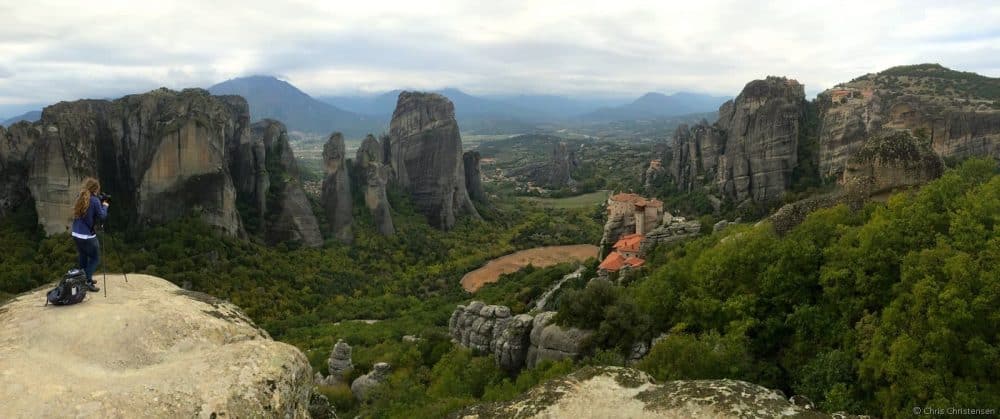
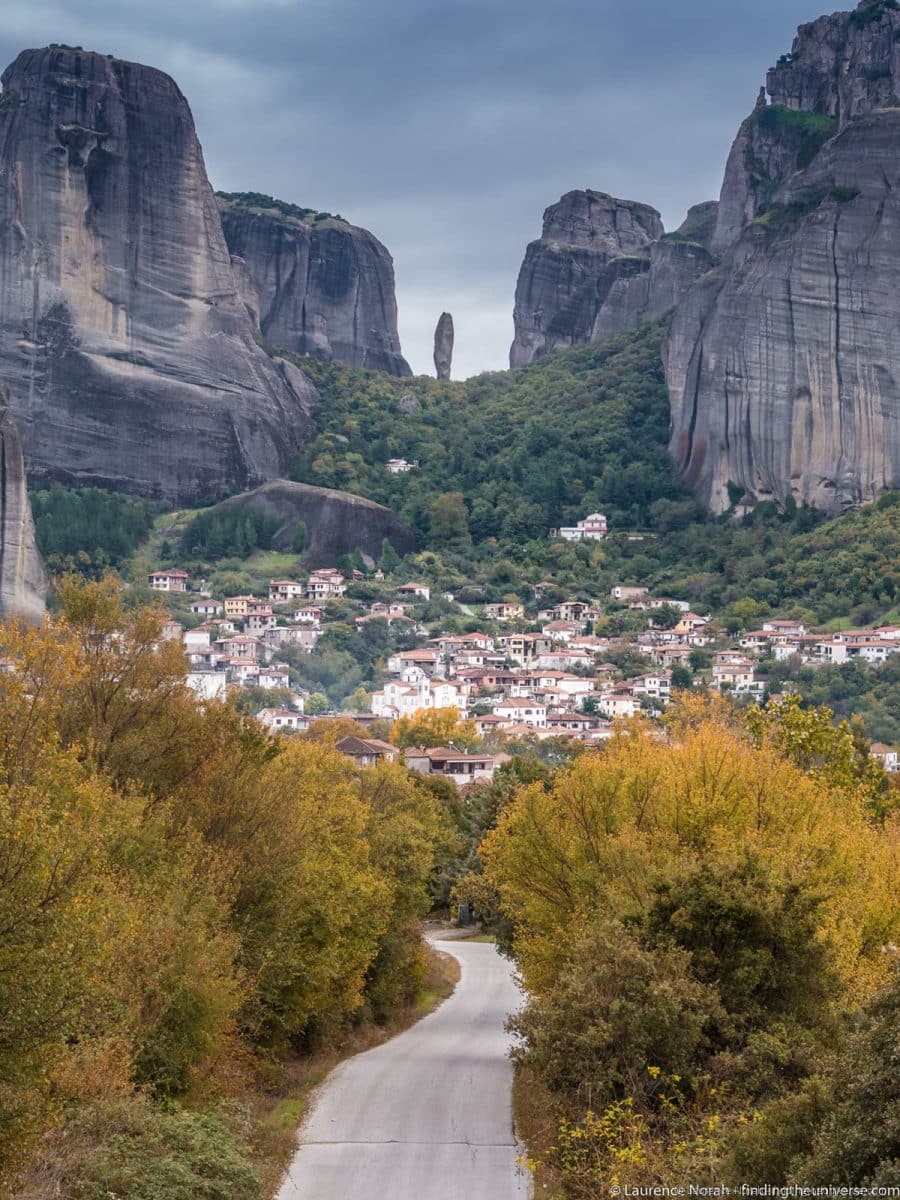
Thanks to Chris Christensen of the Amateur Traveler for the above shot of me and my tripod in action in Meteora, Greece.
A tripod is also essential if you want to shoot multiple exposures for getting the best dynamic range in a shot. I also find it helps me think more about the composition of each shot. Check out my detailed post to why you need a tripod for photography for more information, plus tips on picking the right tripod for you.
I also recommend that you travel with a couple of types of filter for your lenses, that let you do things when shooting that you can’t do in post-processing.
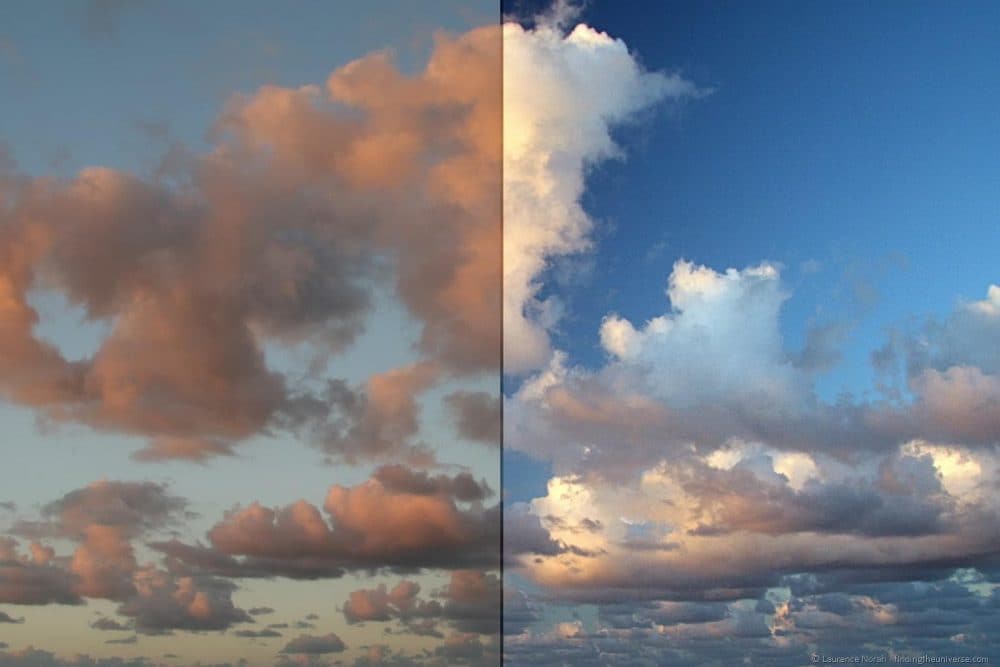
First, I find a polarising filter to be invaluable. This makes blue skies and clouds really pop, and also cuts out glare and reflection on the water. Read more about how best to use a polarising filter here, and take a look at the below image to see what it can achieve, without any computer processing, with the polarised version of the image on the right.
Next up, and as you start getting more into playing with various effects, I would recommend a good set of Neutral Density Filters.
These act as barriers to the light, allowing you to take longer exposures at all times of day. Particularly useful for really capturing motion, and achieving that lovely fluffy water waterfall look.

In terms of lenses, it’s really up to you and your style of shooting, but I generally find myself using a wide-angle lens for most of my work, letting me get more of the scene in.
If you’re interested in reading more about the gear I use for my photography, you can read about it here.
3. Find the best light for photography
Light is really important to photography, given that the whole point of the art is to capture the light. The best times of day to shoot are usually the so-called “golden hours”, that time of day before sunset and after sunrise, when the light is warm.

At other times of the day, particularly when it is sunny, the light can be bright and contrasty, leading to less impressive looking images with harsh, flat-looking images.
Of course, there are ways to get around this, and I do love shooting HDR on clouds days in particular, which can lead to really interesting looking shots. But as a rule of thumb, head out in the mornings and afternoons for the best light.
– Originally posted on Finding the Universe


2 thoughts on “Tips For Taking Better Landscape Photos”
You have shed a ray of sunshine into the forum. Thanks!
Wow, awesome weblog structure! How lengthy have you ever been running a blog for? you make running a blog glance easy. The total glance of your site is magnificent, as well as the content material!